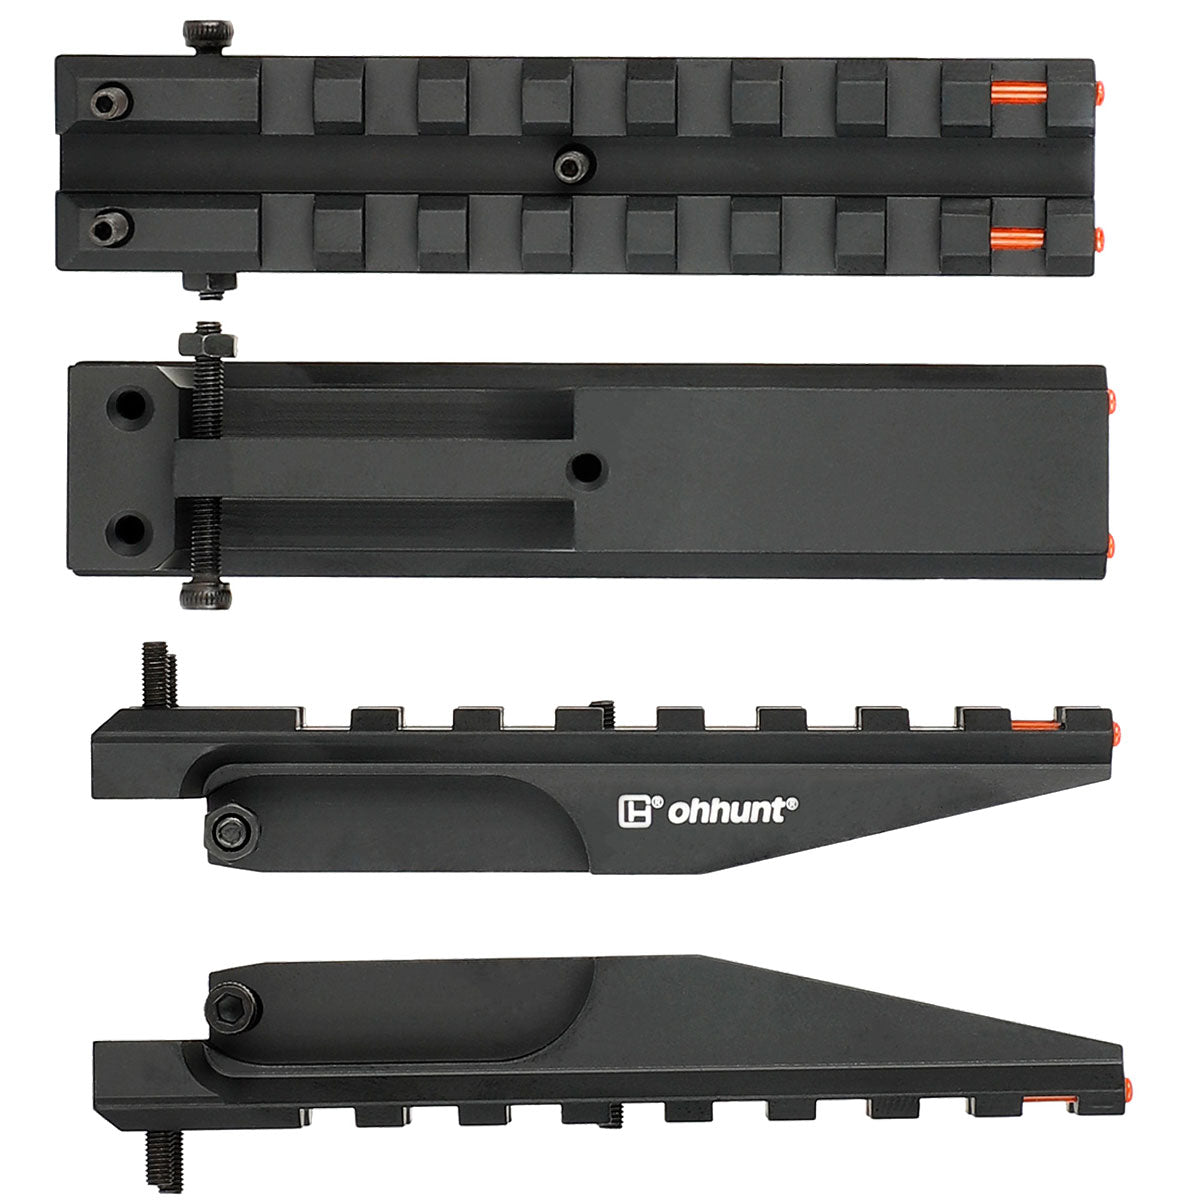
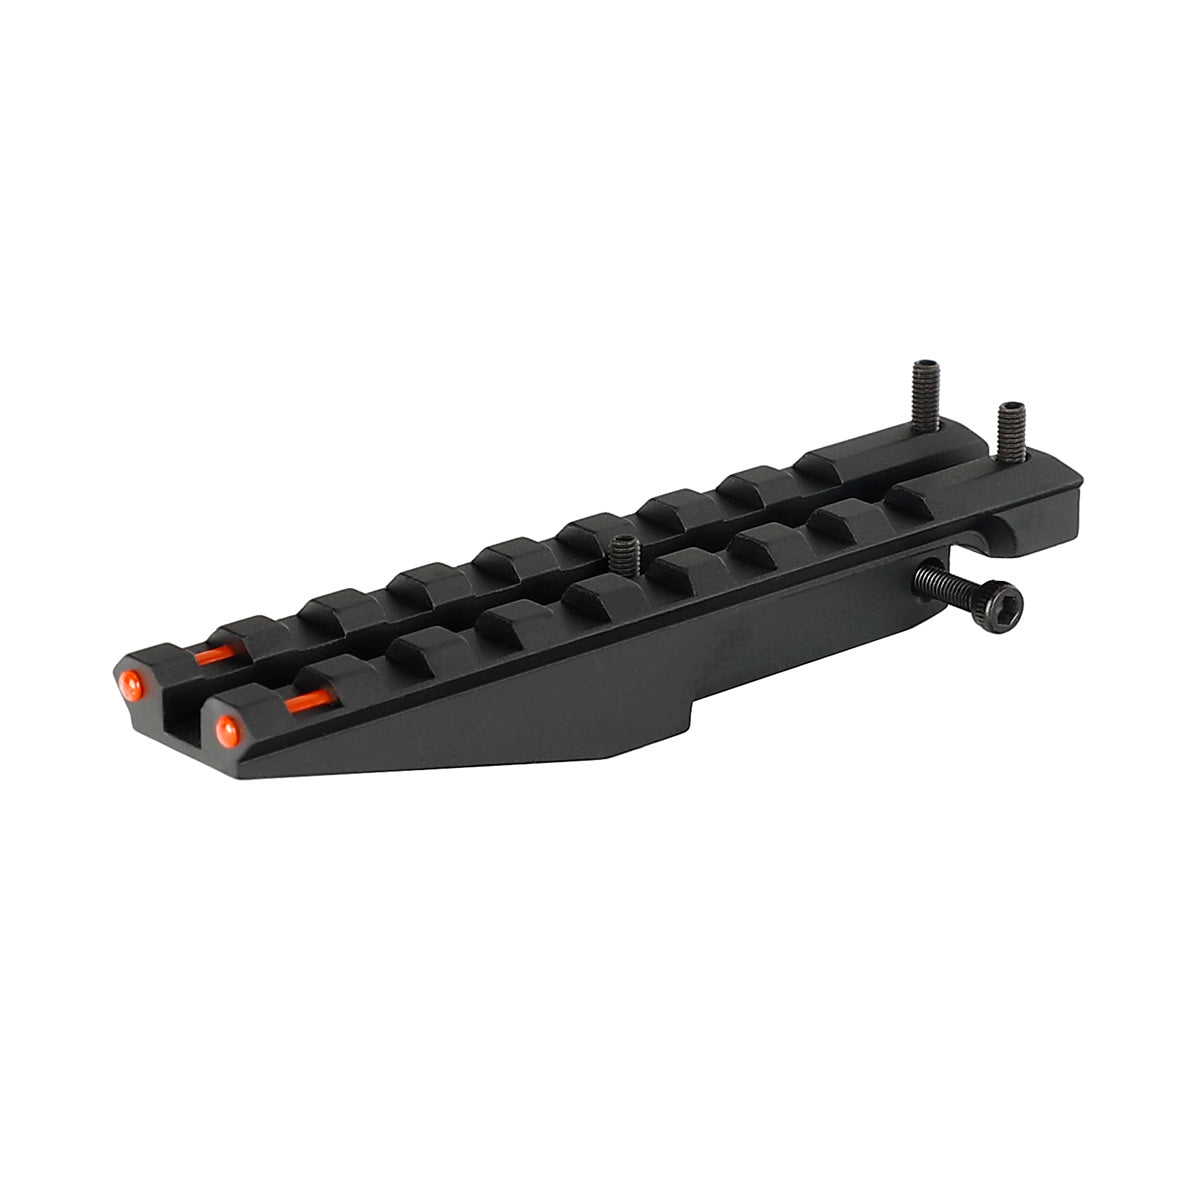
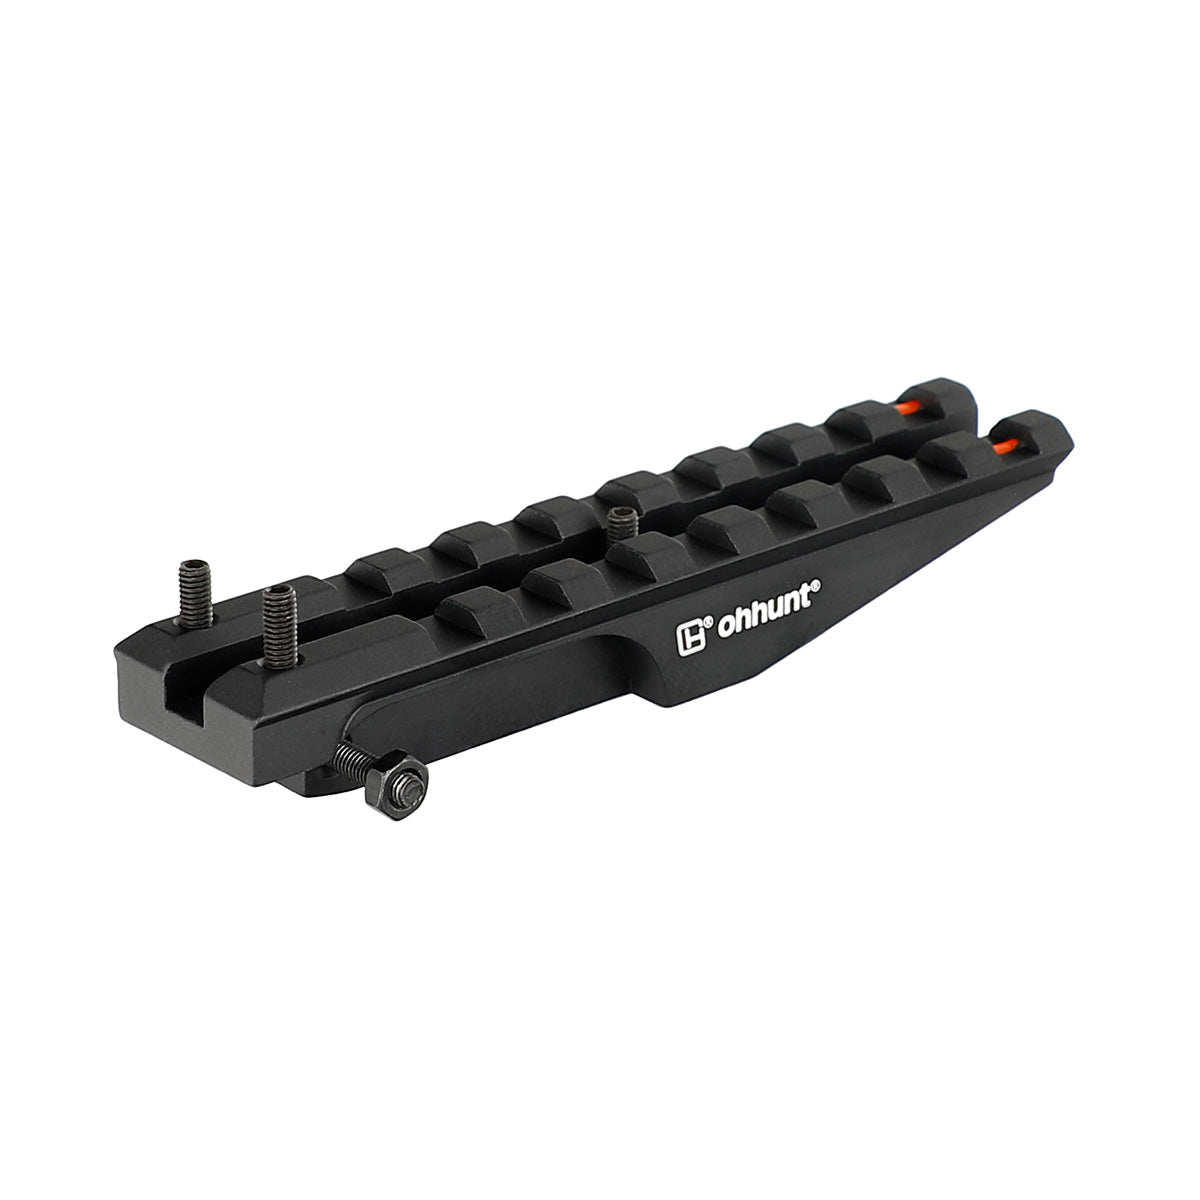
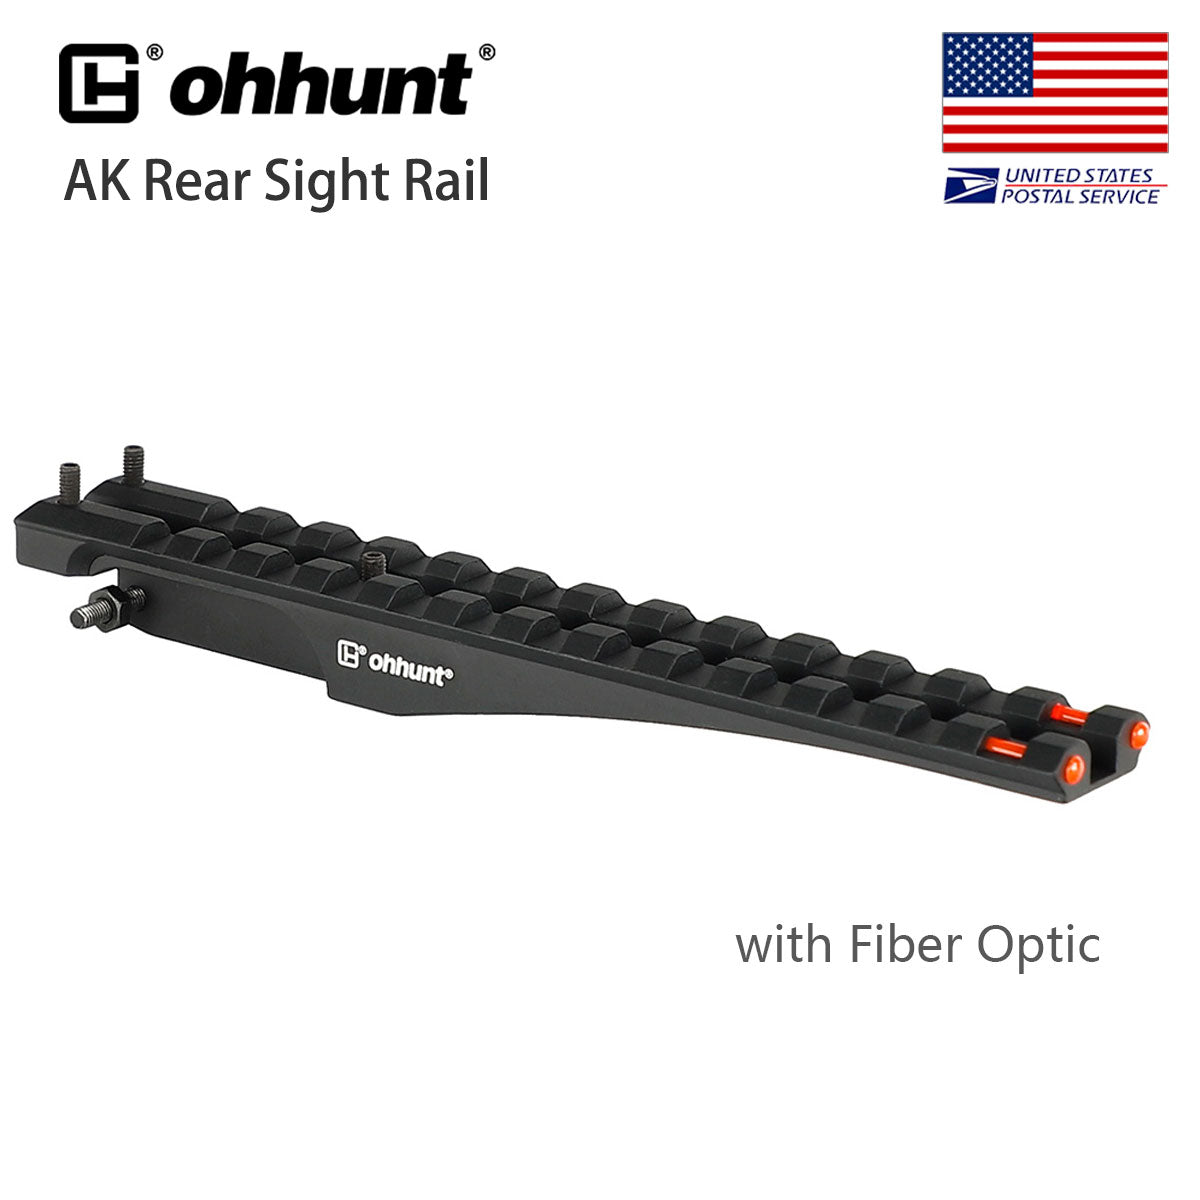
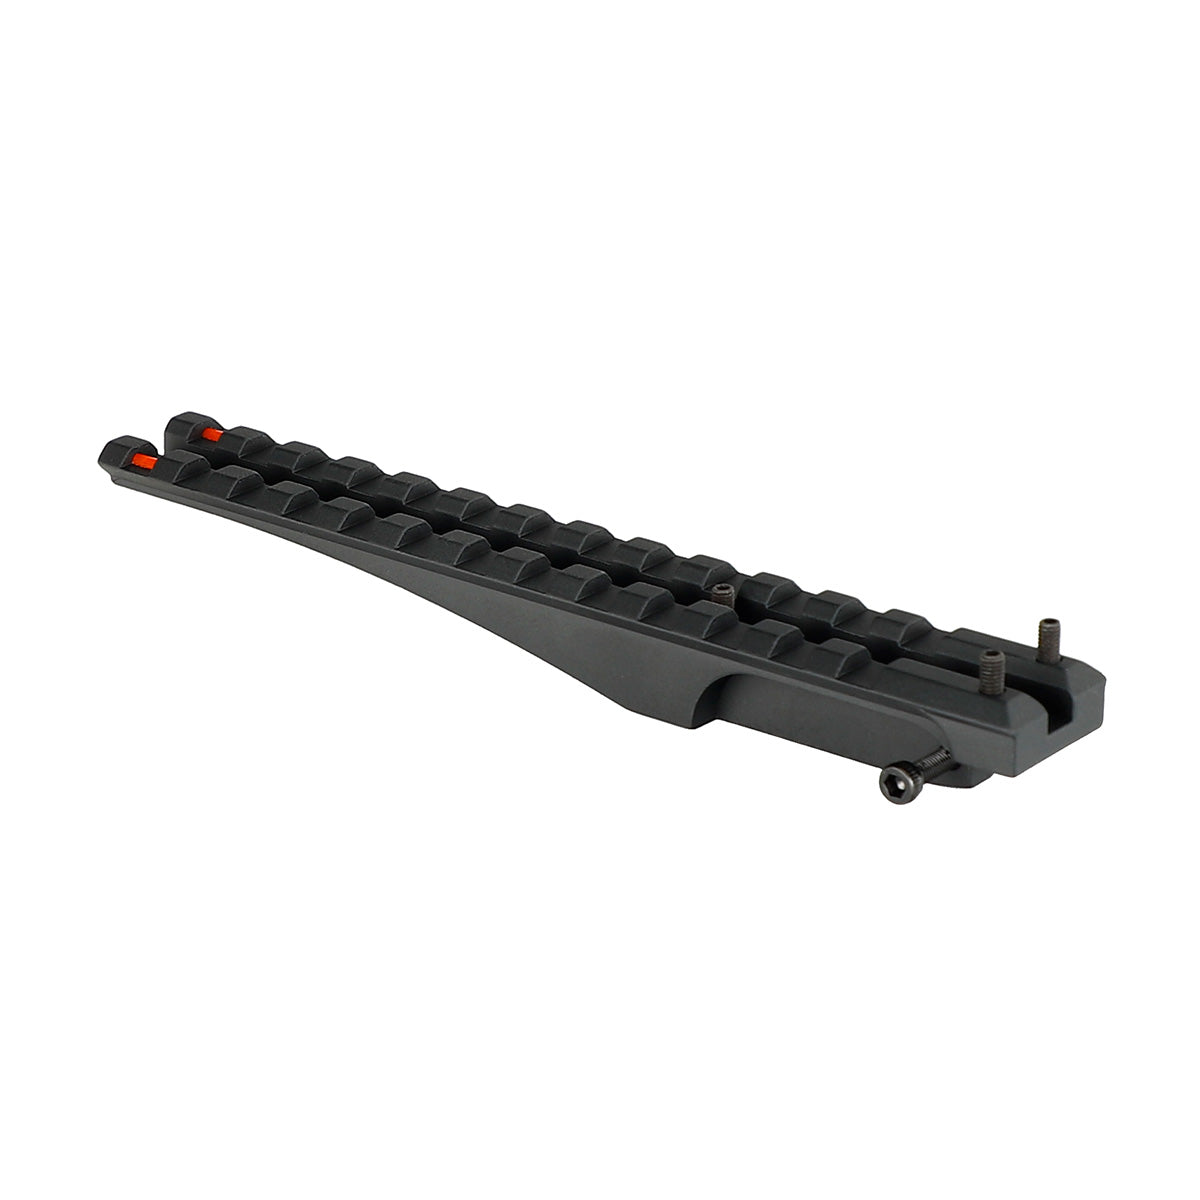
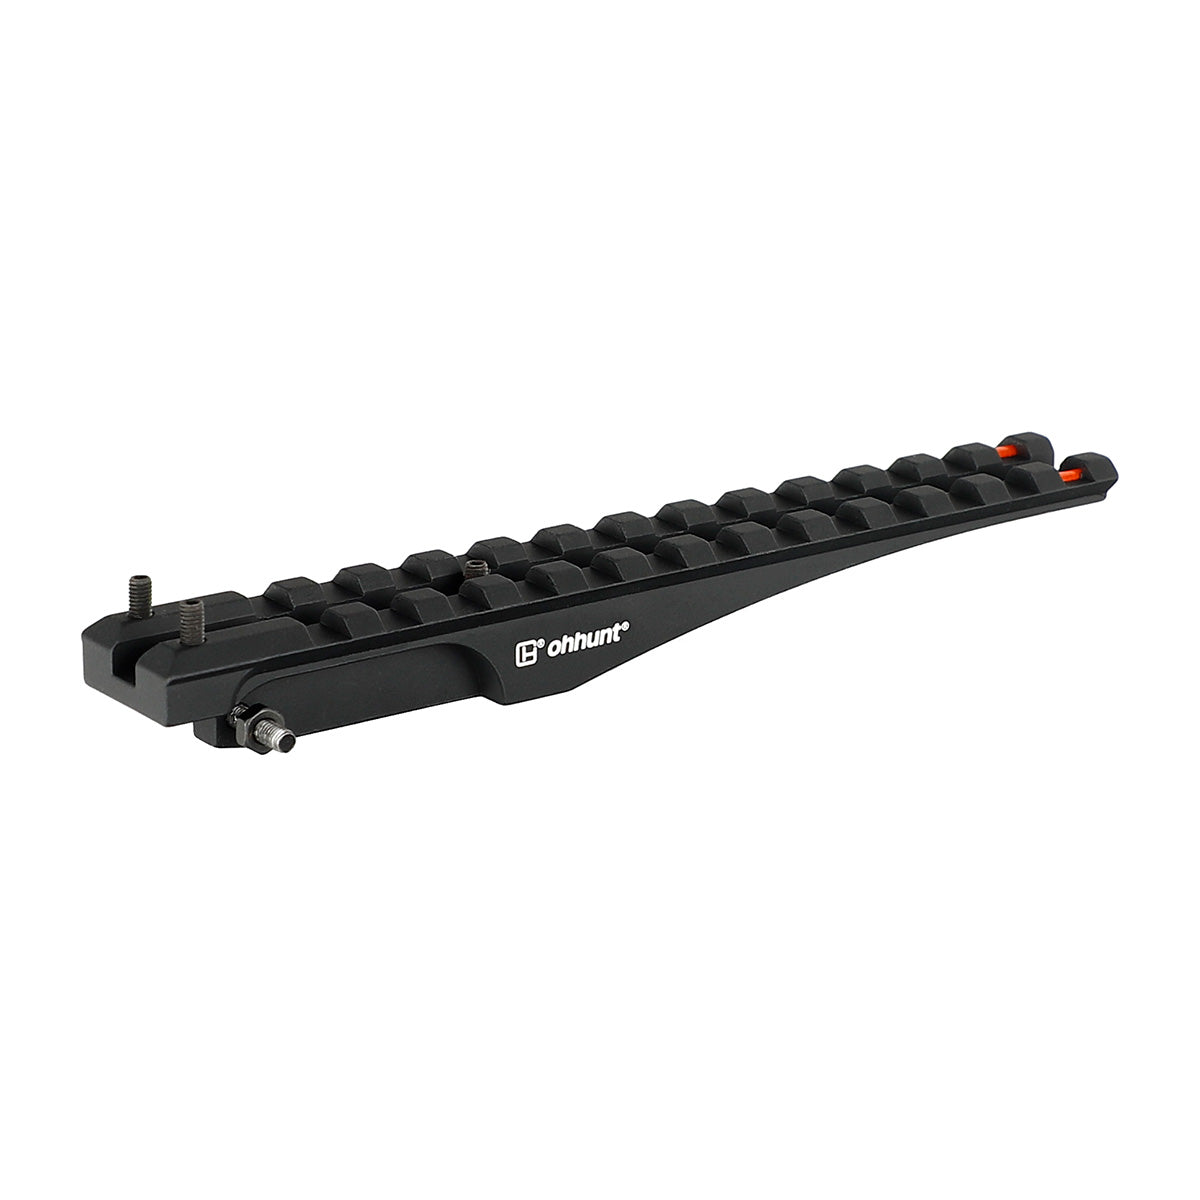
Top notch quality and very satisfied with the product
I purchased this by accident moments later I tried to cancel the order just to be told it has already been shipped which I waited 2 1/2 weeks to receive I’ll never order anything from your company again a non-returnable policy is unacceptable these days
It’s was better den I thought but it’s perfect n I will be orderin more from dem fasuree
Mid-Length 9.6" MK18 Quad Rail Handguard Free Floating Barrel Two-pieces Design for AR-15
This is the second rail Ive bought from Ohunt, and its fantastic as well. The first was the rail for my ak101, and now this rail for my Aero precision ar10 upper. This mounts up perfectly and seamlessly runs into the railed upper. Ohunt is my new destination for all my rail needs!
Ordered 2 of these rails, fit and finish are decent enough for the price. One came in perfect condition the other had some damage (one of the tips on the end of the rail has been bent down). Still functional just looks a little off, made no attempt to fix it as the aluminum seems fairly soft.
Shipping took a while. But the hand guard I ordered was great quality. Will definitely be purchasing another
These handguards are really nice and well built. I guess I don’t get why some handguards cost hundreds of dollars, lighter weight? Ok, still don’t think they’re that much better. I’ll stick with these and put the money I saved into the operating system of my AR! Just sayin!
These handguards look and feel heavy duty, honestly I’m impressed. I’ve purchased DD imitation handguards from aliexpress before and while they looked nice and almost legit, the barrel nut was just aluminum. Ohhunt handguards look and feel like the real thing and I’ve personally compared the two. Definitely buying more in the future.
It is not shake-awake, the way that everyone understands it. After napping for two hours, it goes to sleep and will not wake from that. I can imagine a military usefulness for that, but for a civilian home-defense build it is useless. The whole idea is that it wakes immediately, without warning, when needed. This is a must-have feature for me and I would return it but for the return policy. After shipping and re-stock fees, I would effectively still have paid for it and not have anything.
I have other ohunt gear and have always been very pleased with it. I cannot gauge this against other 1x prisms, as my others are other-brand 3x and 5x, but I am disappointed with how difficult it is to sync my vision with both eyes open. Not sure if it is slightly over or under 1x (or if it is some other visual quality), but it is far more difficult to use than some cheapo plain red dots that I have. The reticle is crisp, and the illumination is dead-on after you uncross your eyes and adjust your vision.
I was excited to order this, and ended up stuck with something I feel was misrepresented. Shake-awake means "from sleep," not a nap.


